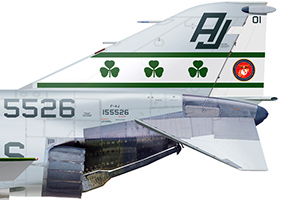
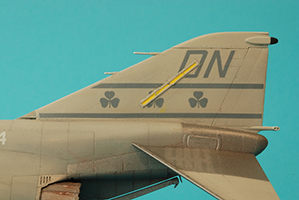
.: Hasegawa F-4S Phantom II
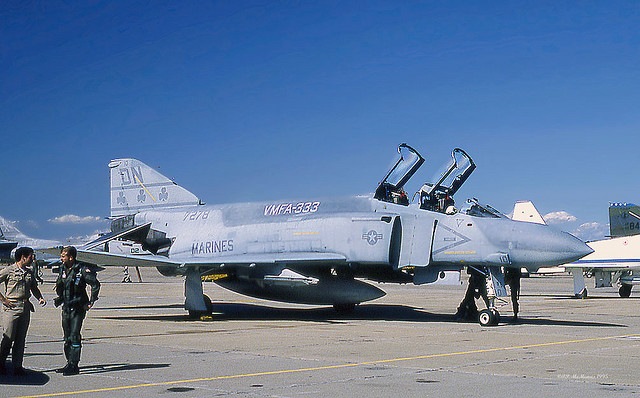 The Phantom is a legend. The history of the McDonnell F-4 Phantom II is long and exciting. First flight was in May 1958, entered operational service in October 1961, and is still in service with the air force of Greece and Turkey, it also served with the air forces of the United States (USAF, Navy and Marines), Egypt, Australia, Germany, Iran, Israel, Japan, South-Korea, Spain and the UK. With a total of 18 different variants and 5195 build the aircraft had a big influence on air combat the last 50 years.
The Phantom is definitely not one of the most beautiful aircraft flying around, nor the best air superiority fighter or the best fighter-bomber. But the aircraft has shown it could execute all the tasks the air forces asked for.
.: The kit
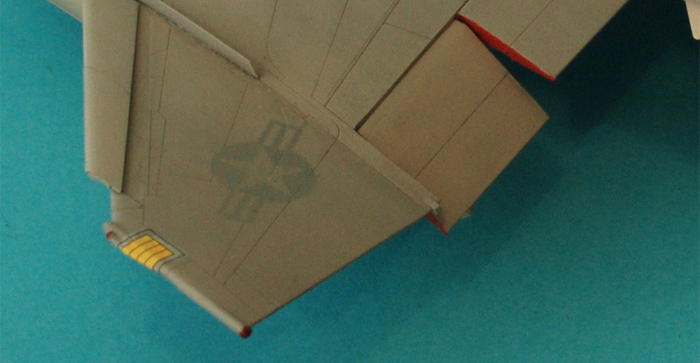
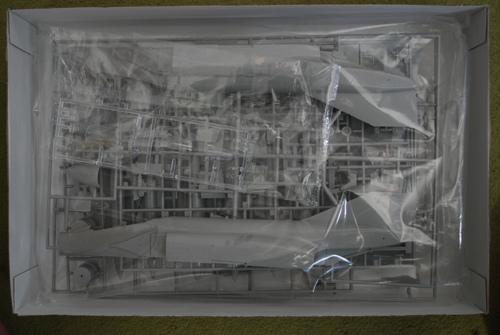 The model is molded in light grey and the parts are excellent detailed. A nice extra are the sidewalls for the rear cockpit that make the difference between the Navy and the USAF Phantom. Another extra is the PE-sprue with the Sierra's particular reinforcements for the wings.
Weapons consist of four AIM-7's and four AIM-9B's. One centerline and two wing tanks are also included.
The directions are straight forward and you can build the model in just 10 steps, with only step 8 a bit crowded.
Color numbers are given in Mr Color, but an added list gives you also the FS numbers of the most important colors.
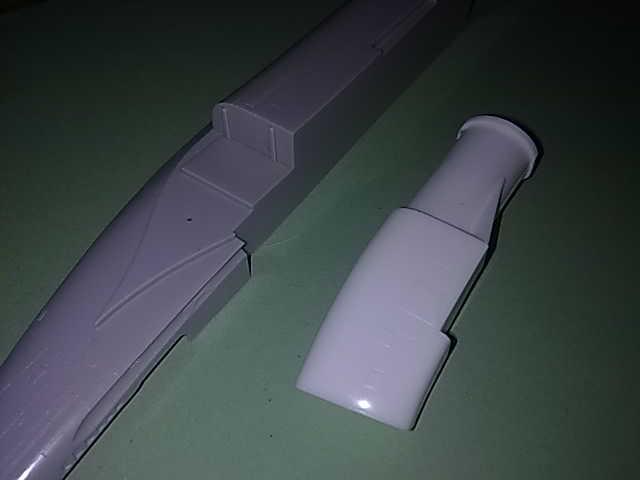
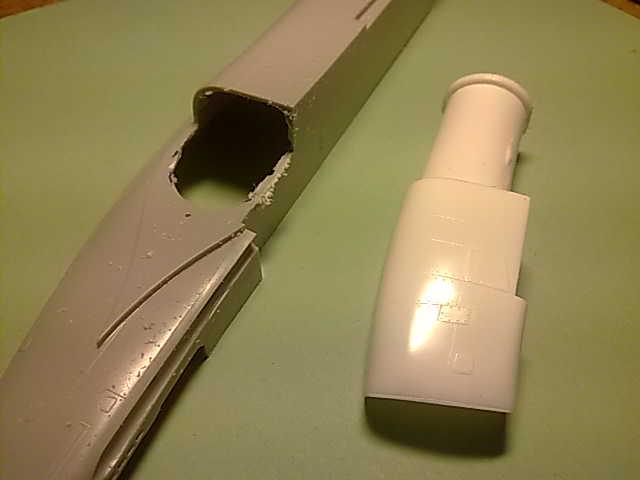
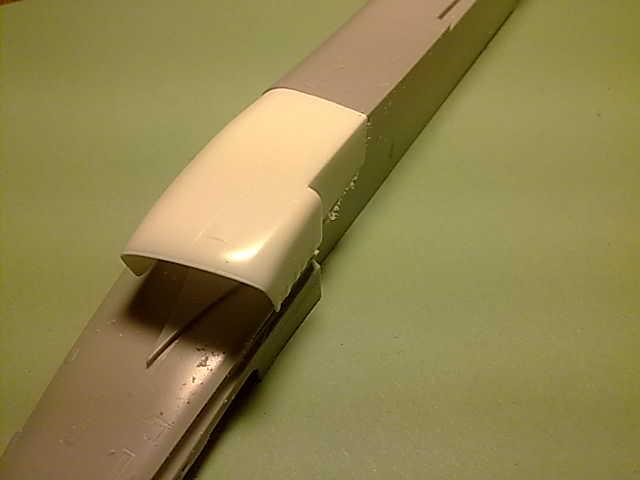
I purchased a couple off add-ons, the Eduard (49-319) detail set and (49015) F-4 ejection seat grey, the Aires (4118) exhaust nozzles, the DMold (48008) seamless intakes and Superscale Decals (481142)
.: The cockpit
As usual construction starts with the cockpit. Step 1 begins with the ejection seats, but these I put aside for the time being. The Eduard set is very nicely detailed and will improve the office considerably. But the first problem surfaced. According the references the cockpit is painted in FS36231, equal to Model Master 1740. But the colored parts of Eduard are much lighter and even a bit blue. I had three options: 1. Doing nothing about it (not an option), 2. Repaint the PE-parts (and lose the details), 3. Pick another color for the cockpit (and lose the reality).
I went for option three. After checking all my shades of grey in the box, French light blue gray (Model Master 2109) was the most alike. And maybe it is the scale effect, but it looks much more like the original.
Time for the seats... It is than that I notice that the Eduard set comes without seat belts! Is this something Eduard has learned from Hasegawa, selling extra's separately?! Eduard does have a couple of sets with different sorts of seat belt and Lucky Model does sell them without shipping costs. I also quickly checked my other kits on the stash and I noticed Eduard did the same with the Hobby Boss F-105G kit, but not with their A/F-18D kit. So be aware when ordering Eduard add-ons.
