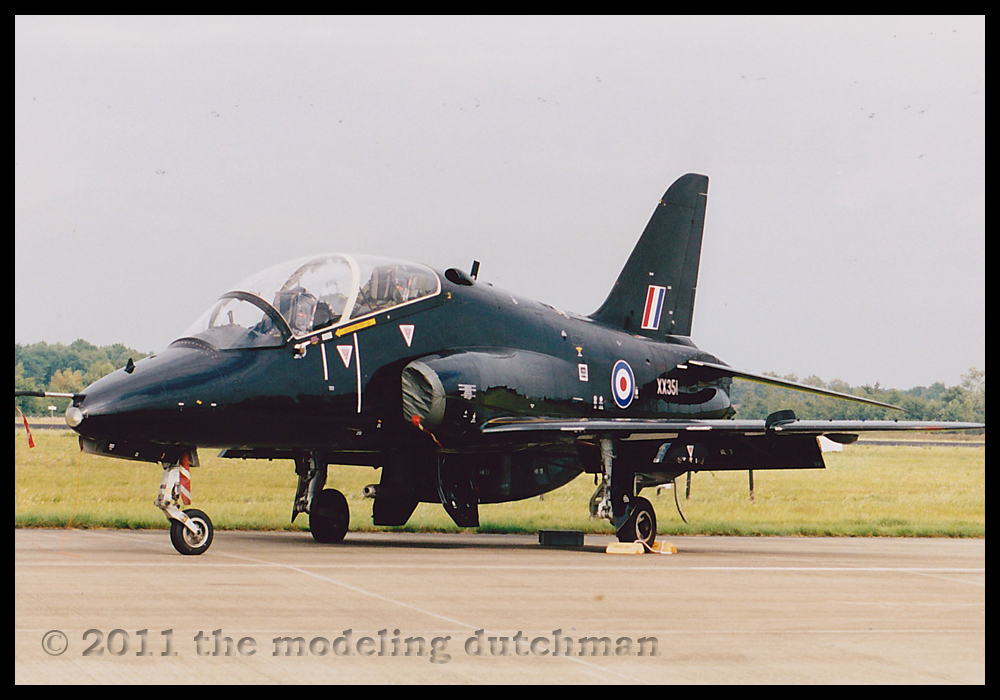
.: Airfix Bae Hawk Mk T1
 The Hawk is an advanced trainer with a two-man tandem cockpit, a low-mounted cantilever wing and is powered by a single turbofan engine. The aircraft was build to replace the Folland Gnat and is specifically designed for training from the beginning.
In RAF service, Hawks have been equipped to operate of the Sidewinder. In the early 1990s, British Aerospace investigated the possibility of arming the Hawk with the Sea Eagle anti-ship missile for export customers. (That would be a nice model...)
Today the Hawk is best known for the choice of aircraft by the Red Arrows. Their red aircraft are present on almost every big airshow throughout Europe. As a trainer my choice is the all black Hawk.
.: The kit
In scale 1/48 there are a few Hawks available. Premier's Hawk, Italeri's Hawk, and there is Airfix' Hawk. That's about it. And none of them are high tech kits. Luckily the aftermarket has done their job well. Neomega, Eduard, Aires, and the seamless intakes by Two Mikes. But with or without these extras, I have seen a lot of wonderful Hawks around.
The kit comes in the well known red Airfix box and contains 8 sprues, of which 2 are transparent. Then there is the instruction booklet and a sheet with very fine decals. The kit provides markings for three examples:
- Hawk T1, XX336, 19 Sqn/RAF, RAF Valley (2006)
- Hawk T1, XX170, NFSF/RN, Royal Naval Air Station Yeovilton (2007)
- Hawk T1, XX289, 63 Sqn/RAF, RAF Chivenor (1990)
Armament contains of 2 external gun pods and 4 Sidewinder 9 Lima's. Also 2 external fuel tanks are in the box. The instruction sheets are OK, but not that clear. Some instructions are more or less a good guess of what to put where. A good reference is not a bad idea.
.: Building
Then there is the warp. The wings. I have never seen a warped wing (or fuselage) like the main wing in this kit. It took me gallons of hot water, a hairdryer and patients to correct this.
Inserting both the Neomega cockpit and the Two Mikes seamless intakes were easy. For the seamless intakes the fuselage had to be cut in 3 sections, but the fit was excellent.
Painting the MDC cord on the canopy was done the Britmodeller way.
Painting the aircraft itself was done in several stages. First the kit was primed to check for imperfections. Then I applied several coats of gloss black until the paint almost started to run. After several days of drying I sanded the black coat until every part was matt now. Now came the final coat. This was a heavy black layer all over the kit. Again I left the kit alone for several days for the paint to cure. Finally I rubbed the black paint with Turtle Wax for a smooth and glossy coat. Decaling and sealing were the last things to do.
The decals that came with the kit are of good quality and settle without problem.
.: Conclusion
Anyone familiar with Airfix kits knows they are not state of the art. On the bright side they are not that ridiculous expensive as the Japanese kits either. This Hawk is no exception. If you want to build a scale 1/48 this Airfix kit might be the best choice. But if you want an excellent kit, straight out of the box, well, you'd better wait for that new kit in town.