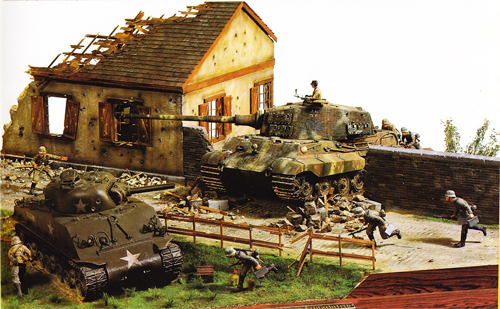
.: Diorama - A whole other ballgame
The idea of making a diorama came when I was drawn to the dark side: Armor. In the old days catalogs of Tamiya were often provided with some nice diorama's of armor made by Verlinden.
This diorama appeared is the Tamiya catalog of 1988, the specific diorama was made by Japanese modelers.
I always was impressed by all these diorama's. They were telling a story and often were given a name and a little description. Verlinden was also a great contributor to the catalog and his diorama's were really amazing.
As an aircraft dude I never seriously thought about making a diorama before. The display had to be clean, not even a pilot in the cockpit.
My first armor kits were that clean too. No figures and definitely no setting. But purchasing the LAV-25 everything changed. Diorama's are the future, but first with the Gepard.
When the decision was made the Gepard was going to act in a diorama a lot of questions came up:
- First the setting.
A lot of settings crossed my mind. Some facts were clear. NATO exercise, 1980's, typical German landscape and some action. I will not bother you with all the rejected settings, but the final display will have a German agricultural landscape with some water, the actual Gepard with a crew and the geese hunters.
- what are the ideal dimensions for the base, what material do I use?
Well, the size was eventually determent on 25 by 35 cm, made of 8mm MDF. One, there is space enough for all my ideas, and two, it will fit my shelf.
- How do I create a raised landscape?
Styrofoam and sidings of balsa are recommended for this job. The art supplier has it all.
- How do I create a realistic landscape?
There are lots of sites on this subject. The books by Verlinden are going to be my guide.
.: The base
Step 1: the lay out.
The base is made of MDF. It has to have enough space to accommodate two figures, a dog and the actual Gepard.
Step 2: forming a landscape.
From a piece of high density polystyrene I made the landscape. Out of center I dug a ditch. A wise lesson was to use the right glue. Some glue melts the foam!
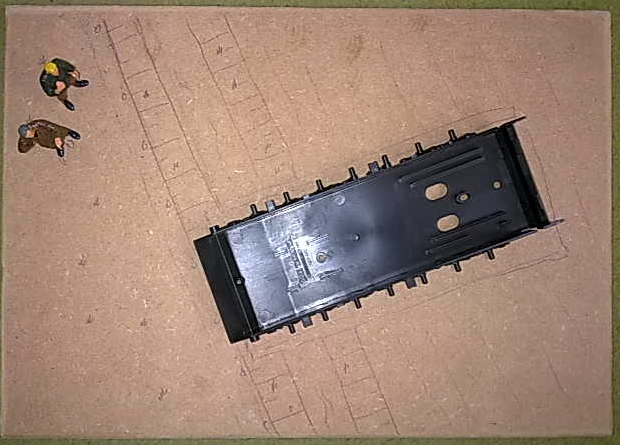 |
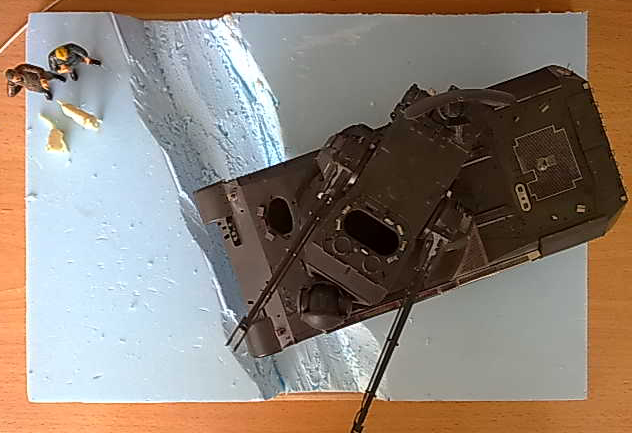 |
Step 1: The lay out |
Step 2: Shaping the base |
Step 3:
creating a soil.
With plaster the surface is created. A smooth underground for grass, a rough underground for farmland, the ditch and the track marks of the Gepard.
Step 4: painting the base colors.
Two base colors are used. Green for grass and brown for farmland. I used acrylic paints from an artist store, not thinned, straight out of the tube.
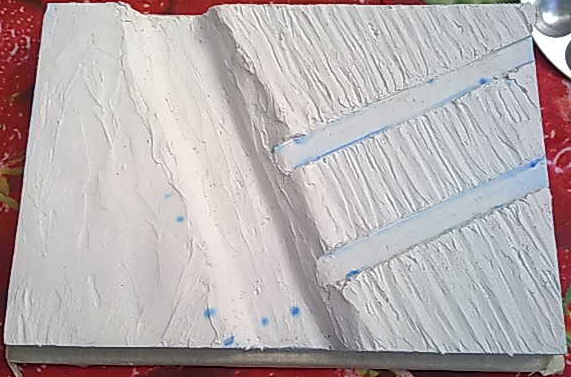 |
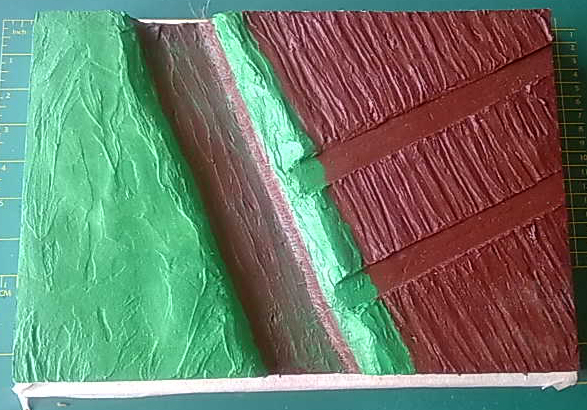 |
Step 3: Plaster |
Step 4: Base color |
Step 5: planting some weed.
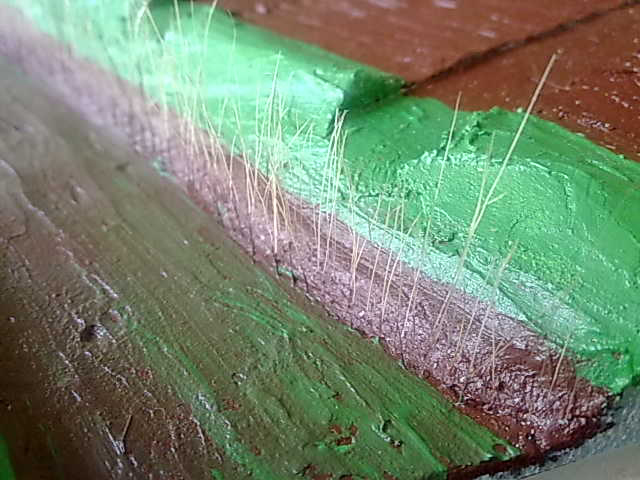
European ditches often have weed along the borders. I simulated the weed with the hairs of a cheap brush form the DIY. Every hair has it's own drilled hole and the hair is fixed with white glue.
Step 6: creating the ditch bed.
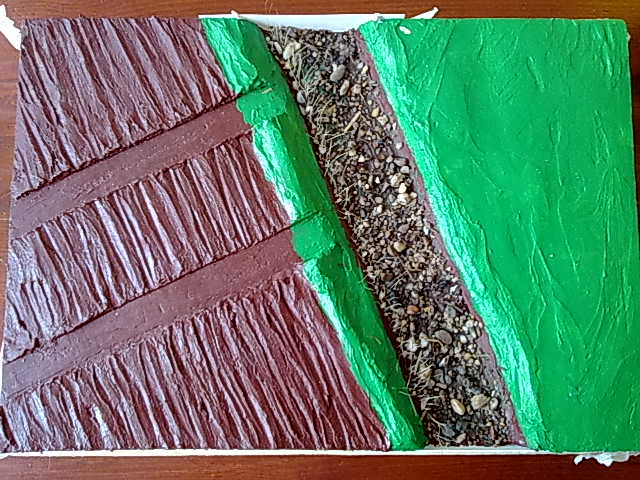
For the ditch bed I used some gravel from the backyard, filtered from the sand with a tea strainer.
 |
 |
Step 5: Planting the weed |
Step 6: Adding a ditch bed |
Step 7: preparation for the water in the ditch.
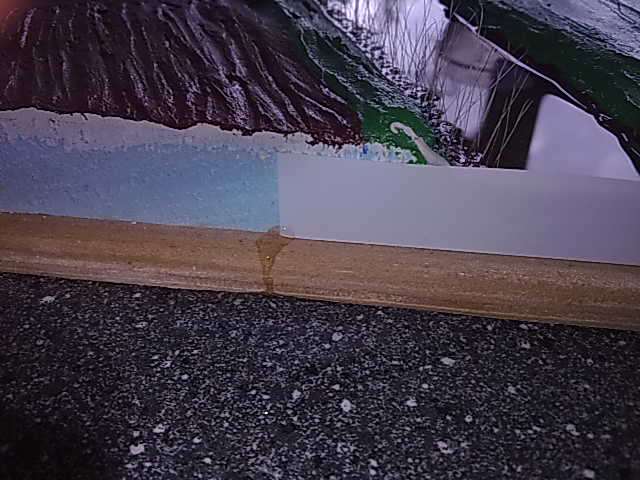
To assure the ditch is watertight I filled the ditch with real water. And yes, of course there was a leak.
Step 8: filling the ditch with model water.
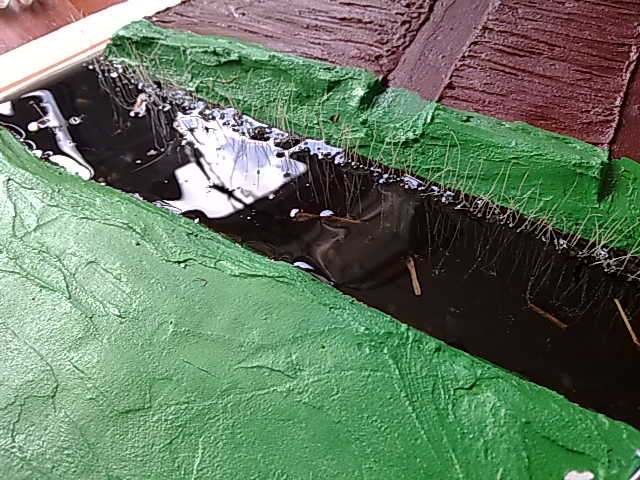
After the ditch had dried I mixed clear transparent resin, found in the artist store, with enamel black paint. Ditch water is usually very dark. After rainfall it can be light brown, but normally it is black. I poured it in the ditch and let it harden over night. Some very small pieces of wood were added to simulate floating debris.
 |
 |
Step 7: Checking for leaks |
Step 8: Adding the resin |
Step 9: creating a realistic farmland.
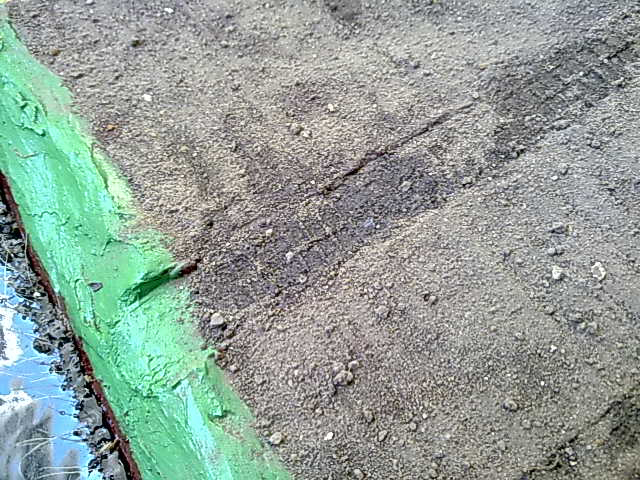
I took some mud from the backyard and let it dry. After it was dry I crushed it to the right scale. Now the underground was smeared with a mix of white glue and water until it was thoroughly wet. Then the dried mud was sprinkled in it and pressed into the glue mix. With the tracks of the Gepard I pressed some extra track marks into the mud. After the glue had dried I removed the loose mud.
 |
|
Step 9: Creating farmland |
|
More to come.
